Building your own mini AI computer
Key Takeaways
- Discover the essential components needed for a mini AI computer.
- Understand the step-by-step process of assembling your computer.
- Learn tips and tricks for optimizing performance.
- Explore additional resources for further reading.
Building your own mini AI computer can seem like a daunting task, but with the right components and a step-by-step guide, you can create a powerful and compact machine tailored to your needs. This guide will take you through the necessary components, tools, and assembly process to help you successfully build your own mini AI computer.
Essential components
The first step in building your mini AI computer is gathering the necessary components. Below is a table listing the key components you will need:
| Component | Description |
|---|---|
| Mini-ITX motherboard | A compact motherboard suitable for mini builds. |
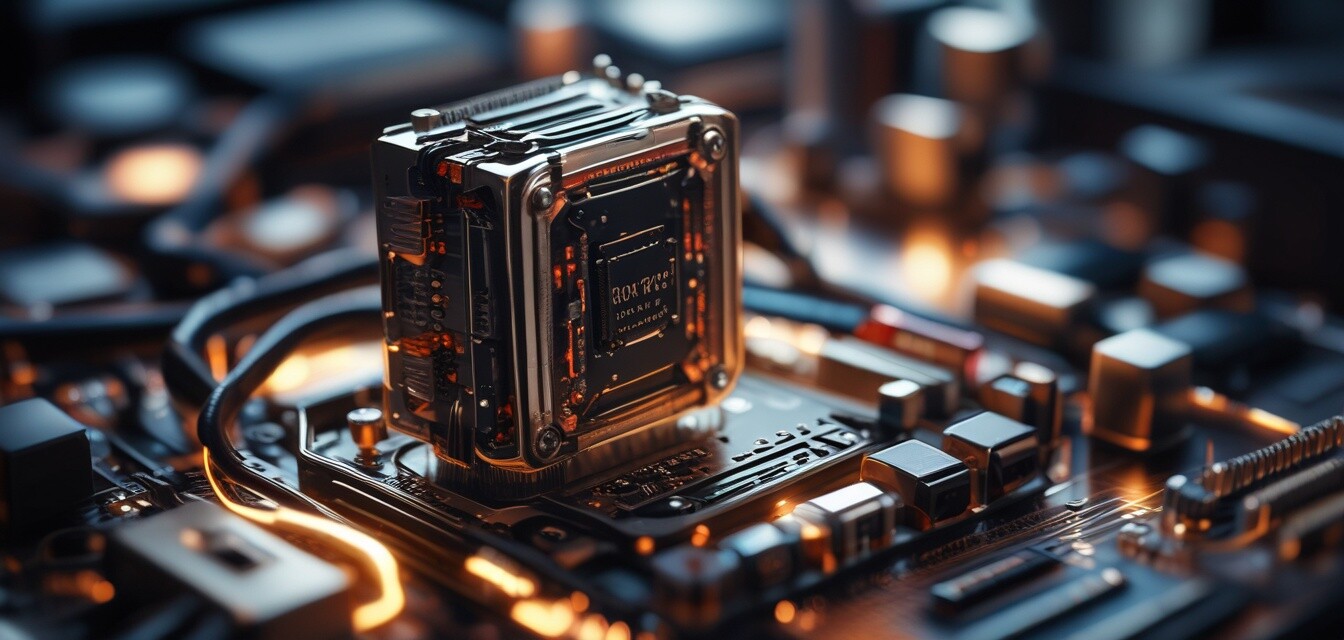
| CPU | A powerful processor capable of handling AI workloads. |
| RAM | Memory for running applications and processes. |
| Storage | SSD or HDD for storing your data and applications. |
| Graphics card | AI graphics accelerators for enhanced performance. |
| Power supply | A compact PSU to power your setup. |
| Case | A mini case to house all components. |
Tools required
Before you start building, make sure you have the following tools on hand:
- Phillips screwdriver
- Anti-static wrist strap
- Thermal paste (if not pre-applied on CPU)
- Cable ties for organization
Step-by-step assembly guide
Now that you have gathered all the components and tools, follow these steps to assemble your mini AI computer:
- Install the CPU: Carefully insert the CPU into the motherboard socket and secure it in place.
- Apply thermal paste: If your CPU does not have pre-applied thermal paste, apply a small amount to ensure proper heat transfer.
- Install RAM: Insert the RAM sticks into the motherboard slots, ensuring they click into place.
- Mount the motherboard: Place the motherboard into the case and secure it using screws.
- Install storage: Mount your SSD or HDD in the designated area within the case.
- Add the graphics card: Insert the graphics card into the appropriate PCIe slot on the motherboard.
- Connect power supply: Connect the power supply to the motherboard, CPU, and any other components that require power.
- Organize cables: Use cable ties to keep wires tidy and ensure good airflow.
- Close the case: Secure the case panels and ensure everything is in place.
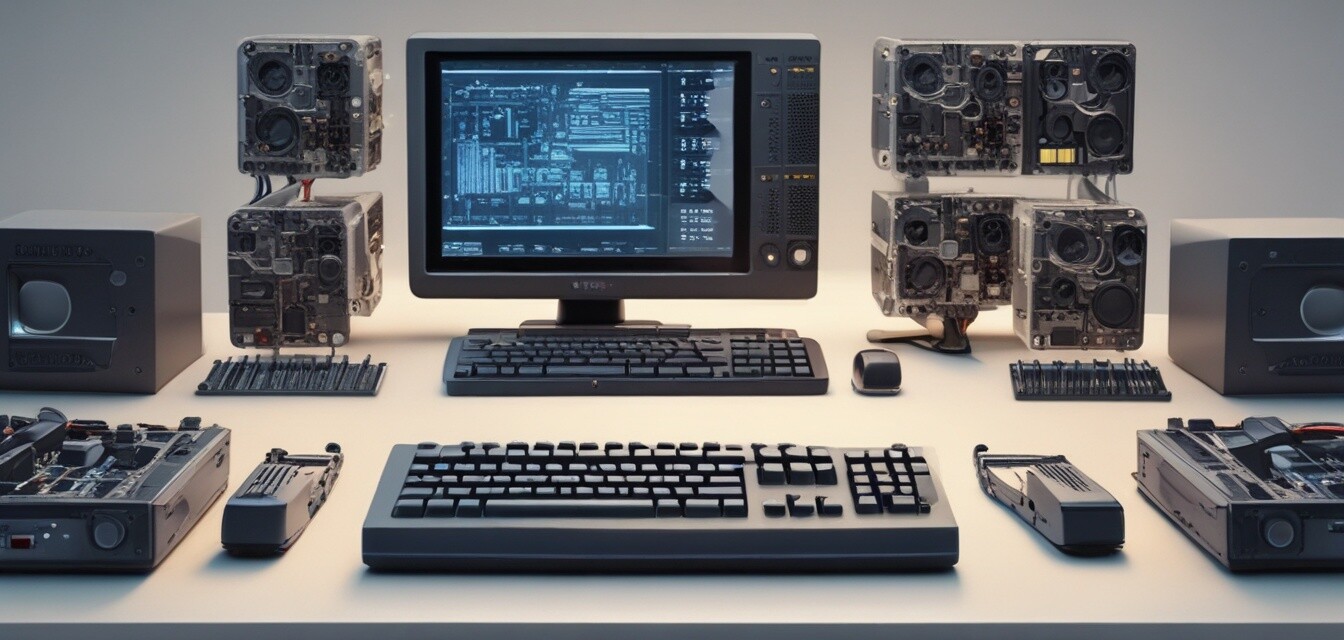
- Boot up: Connect peripherals, turn on the power, and install your operating system.
Optimizing performance
Once your mini AI computer is up and running, consider the following tips to optimize its performance:
- Keep your operating system and drivers updated.
- Install efficient cooling solutions to prevent overheating.
- Utilize software tools designed for AI tasks to maximize efficiency.
- Regularly clean your computer to prevent dust buildup.
Exploring additional resources
For further learning and exploration, check out these related articles on our site:
- AI graphics accelerators
- AI-powered notebooks
- Compact AI servers
- Mini AI desktops
- Portable computing gadgets
Conclusion
Building your own mini AI computer can be a rewarding and educational experience. With the right components, tools, and guidance, you can create a powerful compact machine tailored to your specific needs. Enjoy the process and happy building!
Pros
- Customizable to your specific needs.
- Space-saving design.
- Potentially lower cost than pre-built systems.
- Enhanced performance with optimal components.
Cons
- Requires technical knowledge for assembly.
- Time-consuming compared to buying a pre-built system.
- Potential compatibility issues between components.